Microsoft Excel • Knowledge Base
Automatically Add Borders in Excel
Learn how to make borders automatically appear as you input data using Excel conditional formatting.
01
Why use automatic borders?
One of the best easiest ways to make a spreadsheet look nice, especially if it is going to be printed, is to add borders. But, if you are constantly adding data to your spreadsheet, that means you also have to be constantly updating those borders. Below is a way to make borders appear automatically as you add data to your spreadsheet.
Workflow: Select the range, create a conditional-formatting rule, choose an outline border, and then let Excel update the formatting as the data changes.
02
Follow these steps
-
Select the cells
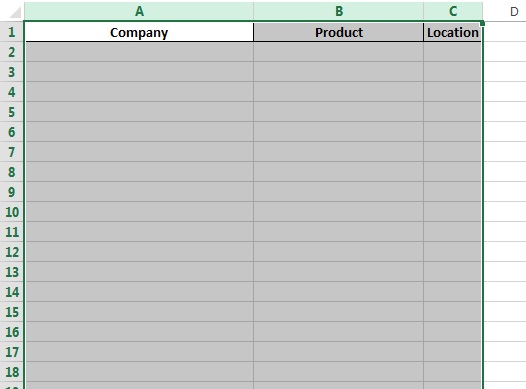
First, select the area in which you want the borders to potentially appear. I used columns A:C below.
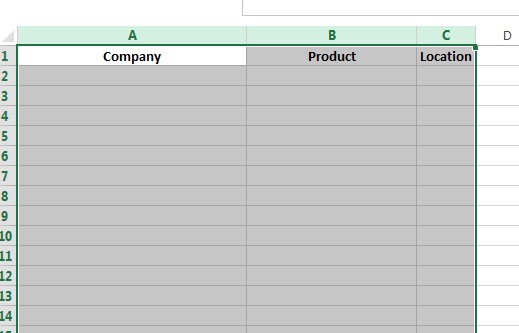
Select the area that will receive the automatic borders. -
Create a new rule
Under Conditional Formatting, select New Rule...
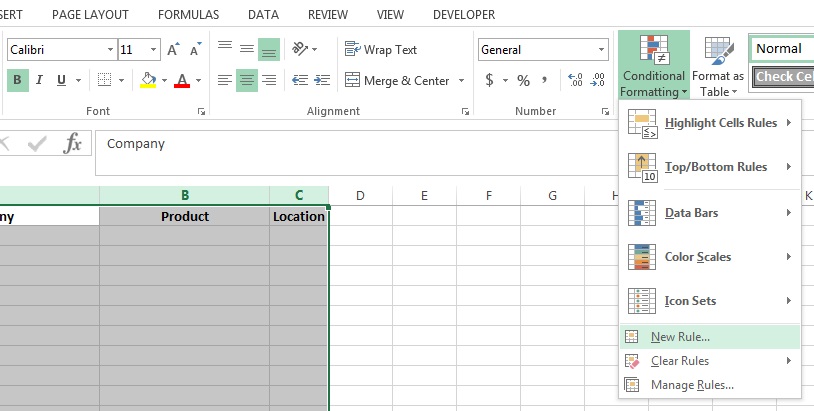
Open the New Rule dialog from Conditional Formatting. -
Use a formula
Select the Use a formula to determine which cells to format option and type in the formula. The way conditional formatting works is by evaluating the formula following the equals sign to see if it is true. If so, it applies the formatting you select.
You always use type the formula as if it were in the upper-left most cell, and use your dollar signs appropriately. Below, I have made it so that if anything in column A, it will format A, B, and C in the corresponding row.
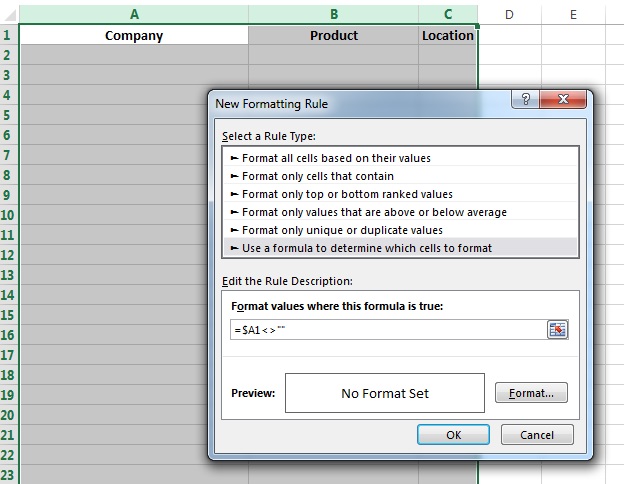
Choose the formula-based conditional-formatting rule. -
Choose the border style
Click the Format... button. Go to the Border tab and choose Outline. Hit OK twice.
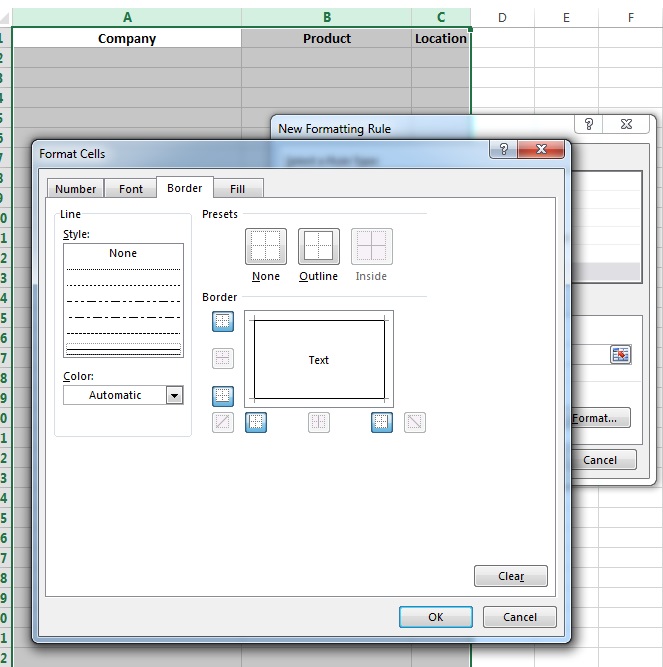
Set the border to Outline and confirm the format. -
Confirm the first border
Notice now that I have borders around the cells in row 1, whereas I did not before. That is because cell A1 is not blank, so the formatting is applied.
The rule applies the outline to the populated row. -
Enter data
As I enter data, the borders automatically appear.
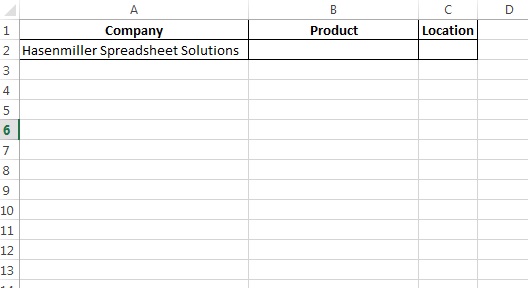
New data receives the border automatically. -
Keep adding rows
As I keep entering data, borders keep appearing.
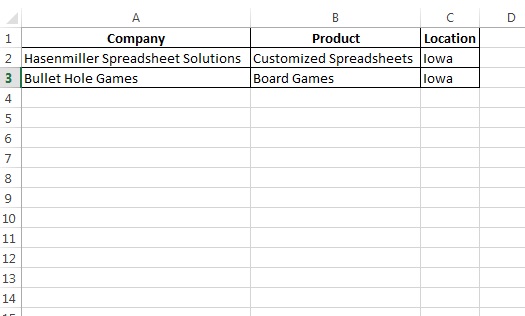
The same rule continues down the selected range. -
Remove data when needed
If I take out what is in column A, the entire row loses its borders due to the way the formula was set up.
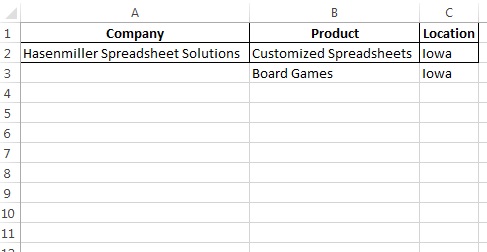
Removing the trigger data removes the row border.